The Ultimate Guide to Sourdough Sandwich Bread
There’s nothing quite like the taste and texture of freshly baked sourdough sandwich bread. Whether you’re making a classic grilled cheese, a loaded deli sandwich, or a simple slice with butter, this bread offers a unique flavor profile that elevates even the simplest meal. Sourdough is renowned for its tangy taste, chewy texture, and natural fermentation process, making it a healthier and more flavorful alternative to commercial breads.
If you’ve dabbled in sourdough baking or are just starting your sourdough journey, this recipe for sourdough sandwich bread will be your new favorite. It combines the distinct flavor of sourdough with the soft, pillowy texture perfect for sandwiches. This comprehensive guide will walk you through everything you need to know, from ingredients to baking tips and even troubleshooting common issues. By the end, you’ll be a pro at baking your own homemade sourdough sandwich bread.
Why Sourdough Sandwich Bread?
Before diving into the recipe, it’s essential to understand what makes sourdough bread so special. Unlike traditional bread made with commercial yeast, sourdough bread uses a “starter”—a mixture of flour and water that ferments naturally over time. This starter is full of wild yeast and beneficial bacteria, which not only leaven the bread but also contribute to its complex flavor and texture.
Benefits of Sourdough Bread
- Better Digestibility: The fermentation process breaks down gluten, making sourdough easier to digest than regular bread.
- Nutrient-Rich: Sourdough fermentation improves nutrient availability, especially minerals like magnesium, zinc, and iron.
- Lower Glycemic Index: Sourdough has a lower glycemic index compared to commercially made breads, which means it has a slower impact on blood sugar levels.
- Longer Shelf Life: The natural acids in sourdough act as preservatives, allowing the bread to stay fresh longer without artificial additives.
With all these benefits in mind, sourdough sandwich bread is the perfect way to enjoy the health perks of sourdough in a versatile and familiar form.
Ingredients for Sourdough Sandwich Bread
This sourdough sandwich bread recipe uses basic ingredients, but the secret lies in the technique and timing of fermentation. Here’s what you’ll need:
For the Starter:
- 100g active sourdough starter (fed and bubbly)
- 100g water
- 100g all-purpose flour
For the Dough:
- 500g bread flour (you can substitute with all-purpose flour, but bread flour gives a better structure)
- 250g water (room temperature)
- 50g unsalted butter (softened)
- 10g salt
- 25g honey (or sugar for a sweeter loaf)
- 100g active sourdough starter (from the starter you prepared)
- Optional: 25g milk powder (for a softer crumb)
Equipment Needed:
- Stand mixer (optional, but useful for kneading)
- Large mixing bowl
- Loaf pan (8.5 x 4.5 inches works well)
- Dough scraper
- Plastic wrap or a damp towel
- Parchment paper (optional)
- Cooling rack
Step-by-Step Instructions for Sourdough Sandwich Bread
1. Preparing Your Starter (The Night Before)
The key to great sourdough bread is a well-fed and active starter. If you don’t already have an active sourdough starter, you’ll need to prepare it in advance. Here’s how:
- Feed your starter: In a clean jar or bowl, mix 100g of your existing starter with 100g of water and 100g of flour. Stir until combined, cover loosely, and leave it at room temperature overnight. By morning, it should be bubbly and doubled in size, indicating it’s ready to use.
2. Mixing the Dough
Once your starter is active and ready, it’s time to mix the dough:
- In a large bowl or the bowl of a stand mixer, combine 500g of bread flour, 250g of water, and 100g of your active sourdough starter.
- Mix with your hands or on low speed in the stand mixer until a shaggy dough forms. Let this sit for 30 minutes. This step, known as “autolyse,” helps the flour hydrate and kickstarts gluten development.
- After 30 minutes, add the salt, honey, and softened butter. Continue to mix the dough either by hand or using the dough hook attachment on a stand mixer. Knead for about 8-10 minutes until the dough becomes smooth and elastic.
3. Bulk Fermentation
Once your dough is well-kneaded, it’s time for bulk fermentation, which is where the dough rises and develops flavor:
- Place the dough in a large, lightly greased bowl.
- Cover the bowl with a damp cloth or plastic wrap and let it sit at room temperature for 3-4 hours. Every hour during this period, give the dough a “stretch and fold.” To do this, pull up one corner of the dough and fold it over itself. Rotate the bowl 90 degrees and repeat until all four corners have been folded.
- After the final stretch and fold, the dough should be slightly risen and bubbly. If your kitchen is cooler, you may need to let the dough ferment longer.
4. Shaping the Dough
After the bulk fermentation, it’s time to shape your dough into the classic sandwich loaf shape:
- Gently transfer the dough onto a lightly floured surface. Try not to deflate it too much.
- Shape the dough into a rectangle, about the width of your loaf pan.
- Roll the dough into a tight log, starting from one of the shorter edges.
- Place the rolled dough, seam side down, into a greased or parchment-lined loaf pan.
5. Final Proofing
Cover the loaf pan with plastic wrap or a damp towel and let the dough rise again for 3-4 hours, or until it has risen just above the edge of the loaf pan. You can also do an overnight proof in the refrigerator for a slower, more flavorful rise.
6. Baking the Bread
Once your dough has completed its final rise, it’s time to bake:
- Preheat your oven to 375°F (190°C). If you prefer a darker crust, you can go up to 400°F (200°C).
- Optional: If you’d like a shinier, softer crust, brush the top of the loaf with a little milk or melted butter before baking.
- Bake the loaf for 35-40 minutes, or until the top is golden brown and the internal temperature of the bread reaches 200°F (93°C). If the top is browning too quickly, cover it loosely with aluminum foil halfway through the baking process.
- Remove the bread from the oven and let it cool in the pan for 10 minutes, then transfer it to a cooling rack to cool completely before slicing.
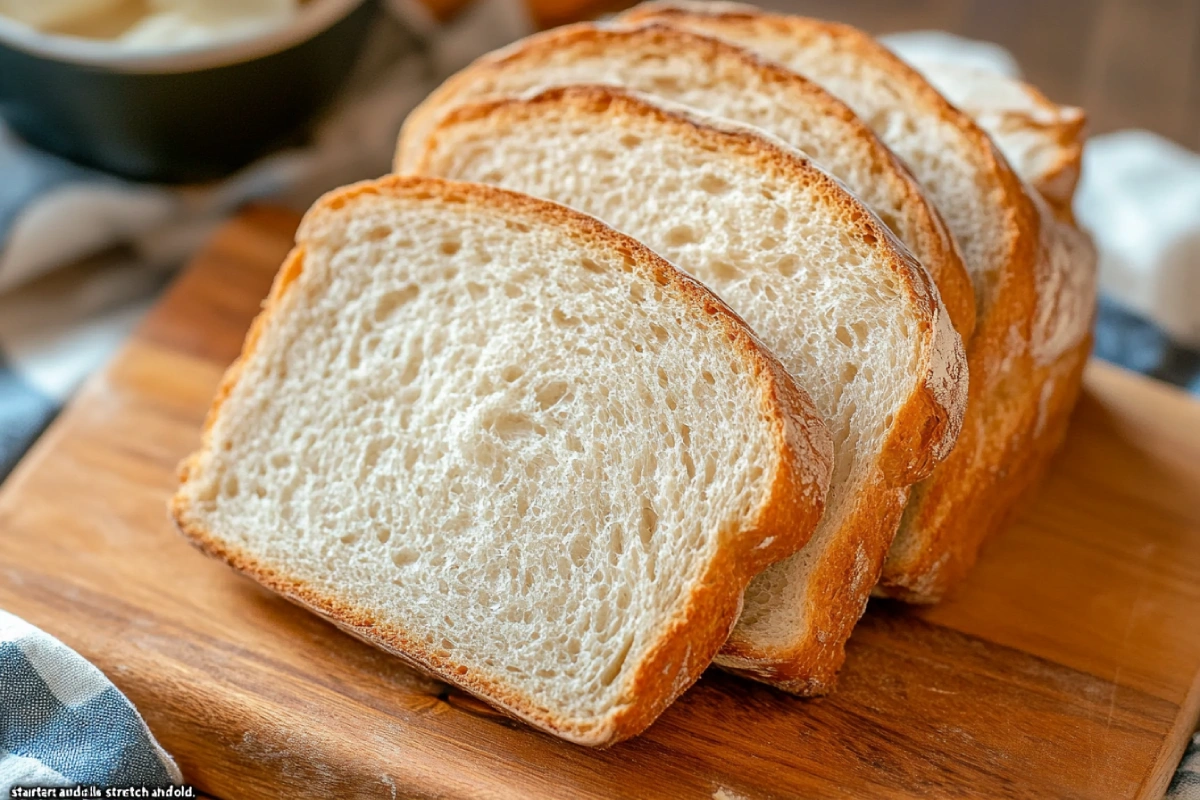
7. Slicing and Storing
Once the bread has cooled, you can slice it into even sandwich slices. The crumb should be soft yet sturdy, perfect for holding all your favorite sandwich fillings without falling apart.
To store, keep the bread in an airtight container or bag at room temperature for up to 5 days. If you want to extend its shelf life, you can freeze the bread in slices and toast them as needed.
Troubleshooting Common Issues
1. The Bread Didn’t Rise Enough
- Underproofing: If your bread doesn’t rise properly, it might be because the dough wasn’t proofed long enough. Be sure to give it enough time to rise, especially during bulk fermentation. If your kitchen is on the cooler side, consider proofing in a warmer spot or extending the fermentation time.
- Inactive Starter: Make sure your sourdough starter is active and bubbly before using it. A weak starter won’t leaven the bread properly.
2. The Crust Is Too Hard
- Baking Temperature: If the crust is too hard or thick, you may have baked it at too high a temperature or for too long. Try lowering the temperature or covering the loaf with foil partway through baking.
- Brushing: For a softer crust, brush the top of the dough with milk or butter before baking.
3. The Bread Is Too Dense
- Over-Kneading: If the dough is over-kneaded, it can result in a dense loaf. Be careful not to overwork the dough during the mixing stage.
- Too Little Hydration: If the dough is too dry, it can also cause the bread to be dense. Ensure you’re adding enough water, especially if using different types of flour like whole wheat or rye.
Frequently Asked Questions (FAQs)
1. Can I Make This Recipe with Whole Wheat Flour?
Yes! You can substitute part of the bread flour with whole wheat flour to make a heartier loaf. Keep in mind that whole wheat flour absorbs more water, so you may need to adjust the hydration by adding a little more water to the dough.
2. Can I Use My Bread Machine to Make Sourdough Sandwich Bread?
While sourdough bread typically requires hands-on fermentation and shaping, you can use a bread machine for kneading the dough. After the dough cycle is complete, transfer the dough to a loaf pan for the final proof and bake in a regular oven.
3. How Can I Make My Bread More Tangy?
To make your sourdough bread more tangy, you can extend the fermentation time. Allowing the dough to ferment longer—either during bulk fermentation or the final proof—will result in a stronger sour flavor. Alternatively, refrigerating the dough during the final proof overnight can also enhance the tang.
4. How Do I Know When My Sourdough Starter Is Ready to Use?
Your starter is ready when it’s bubbly, active, and has doubled in size after feeding. A well-fed starter will also have a pleasant, slightly tangy smell. If your starter doesn’t pass the float test (dropping a small amount into water to see if it floats), it may need more time to develop.
Conclusion
Sourdough sandwich bread is a rewarding baking project that combines the natural fermentation of sourdough with the soft, easy-to-slice texture of a sandwich loaf. While it may take a little patience and practice to perfect, the results are well worth it. The rich flavor, soft crumb, and health benefits of homemade sourdough make this bread a staple in any kitchen. Whether you’re a seasoned baker or new to sourdough, this recipe will guide you through creating the perfect loaf that’s ideal for sandwiches, toast, and everything in between.